
Make your images stand out
How to take beautiful product photography

Having a beautiful website layout and amazing products, as well as beautiful social media accounts and location photography is a must have in todays online world.
“Photography is truth.”
– Jean-Luc Godard
– Jean-Luc Godard
However, it isn't enough to use location photography as your main imagery to promote your ranges. Your customer wants to see how a product fits, how it hangs, how to use it and how it moves. Taking stand out product photography requires expertise and the right equipment.
“In July 2019, online retailing accounted for 19.9% of total retailing compared with 18.9% in June 2019, with an overall growth of 12.7% when compared with the same month a year earlier.” office for national statistics
Below are my 5 top tips for taking product photography to help improve your product sales:
Shoot on White paper. -
It is extremely important that your product images show the true colour of the item, the last thing you want is the background and surroundings of your product to distract from it or bounce off light, onto the product. This will distort its colour and cast unwanted shadows.
I use plain white matt photography paper. It gives a good clean image and just the right amount of shadow when the lighting is set up correctly.
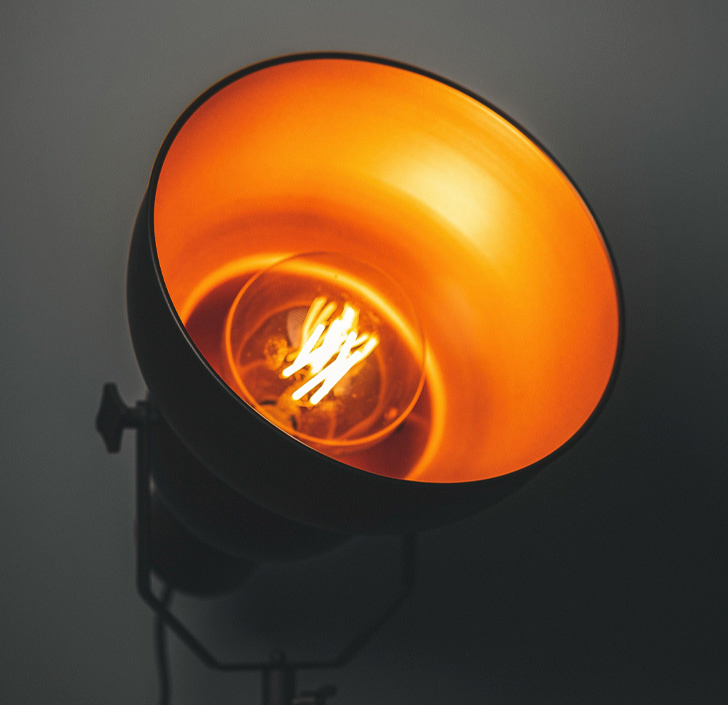
Lights, lights, lights! -
I use 4 Flash lights. two in front and two placed at the back, behind the model and facing the paper. Setting up your lighting settings come hand in hand with setting up your camera settings. I generally shoot at a 1/2 setting on the lights and adjust my camera settings accordingly.
I ensure the two front lights are pointing directly at the product; for example if its clothing on a model, I would make sure that the lights are pointed towards the centre of their body. This gives a nice even distribution of the light across the product and not too overpowering on the facial area. I look for enough shadow to give a little bit of depth, but not too much that it distorts and overpowers the image, taking focus from the product.
Consistency is Key -
It is often said to use a tripod for consistency. That is true, but you can also use the camera without. The main thing to think about is once you have set your position and distance from the product, make a note and stick with it.
I like to be level with the models centre so the product is shot head on and straight in front. I do this by sitting on a high adjustable chair. I use the viewfinder in the camera and ensure the model fits into the frame with a little bit of space all the way around the edges.
When you do a new shoot, take test shots once your set up and compare the images with your previous shoot. Check the shadows on the model and paper are similar and that model size within the frame is the same as your previous shoots. Make a note of your camera settings and your light settings and positions.

Planning -
Have a plan before you start. How many products do you have to shoot? have a list handy with product names/codes and have space next to them to make comments where needed. Have a list and/or image references of the different shots you want to have (Front, side and back etc) and take extra shots so you have some to fall back on for other marketing material.
Finishing touches -
Make sure you edit your images after they have been taken. I use Lightroom and Photoshop, along with a creative drawing tablet for precision. I take the product/model out of the off white background and place onto a pure, solid white background and neaten any creases and marks, as well as editing the shadows etc. Again, be consistent and make a note of the changes that you have applied.
Subscribe
LETS CONNECT!
Sign up to my newsletter to ensure you receive Freebies, updates on my latest informational blogs and offers.
Thank you!
Hi!
GET IN TOUCH
I hope this helps, and if you would prefer to bring in a photographer, please give me a shout using the contact form and we can have a chat about working together on your next project.
Hi and thank you for getting in contact. I will reply shortly. Wishing you a great day! Please feel free to take a look at my Social media in the mean time! https://www.instagram.com/lindseylahmet_official/
Say hello
ON INSTAGRAM!
Thats where I like to show my personal creative side and my recent work!
